

I’m so happy to be joining a blog hop for the FIRST time! I'm also very glad to be be showing you this card - I hope you like it. I realize this looks like a Valentine's Day card - and it very well could be - but I made it for my Mom's January birthday. I love this sentiment, and of course I love my Mom so, perfect combination.


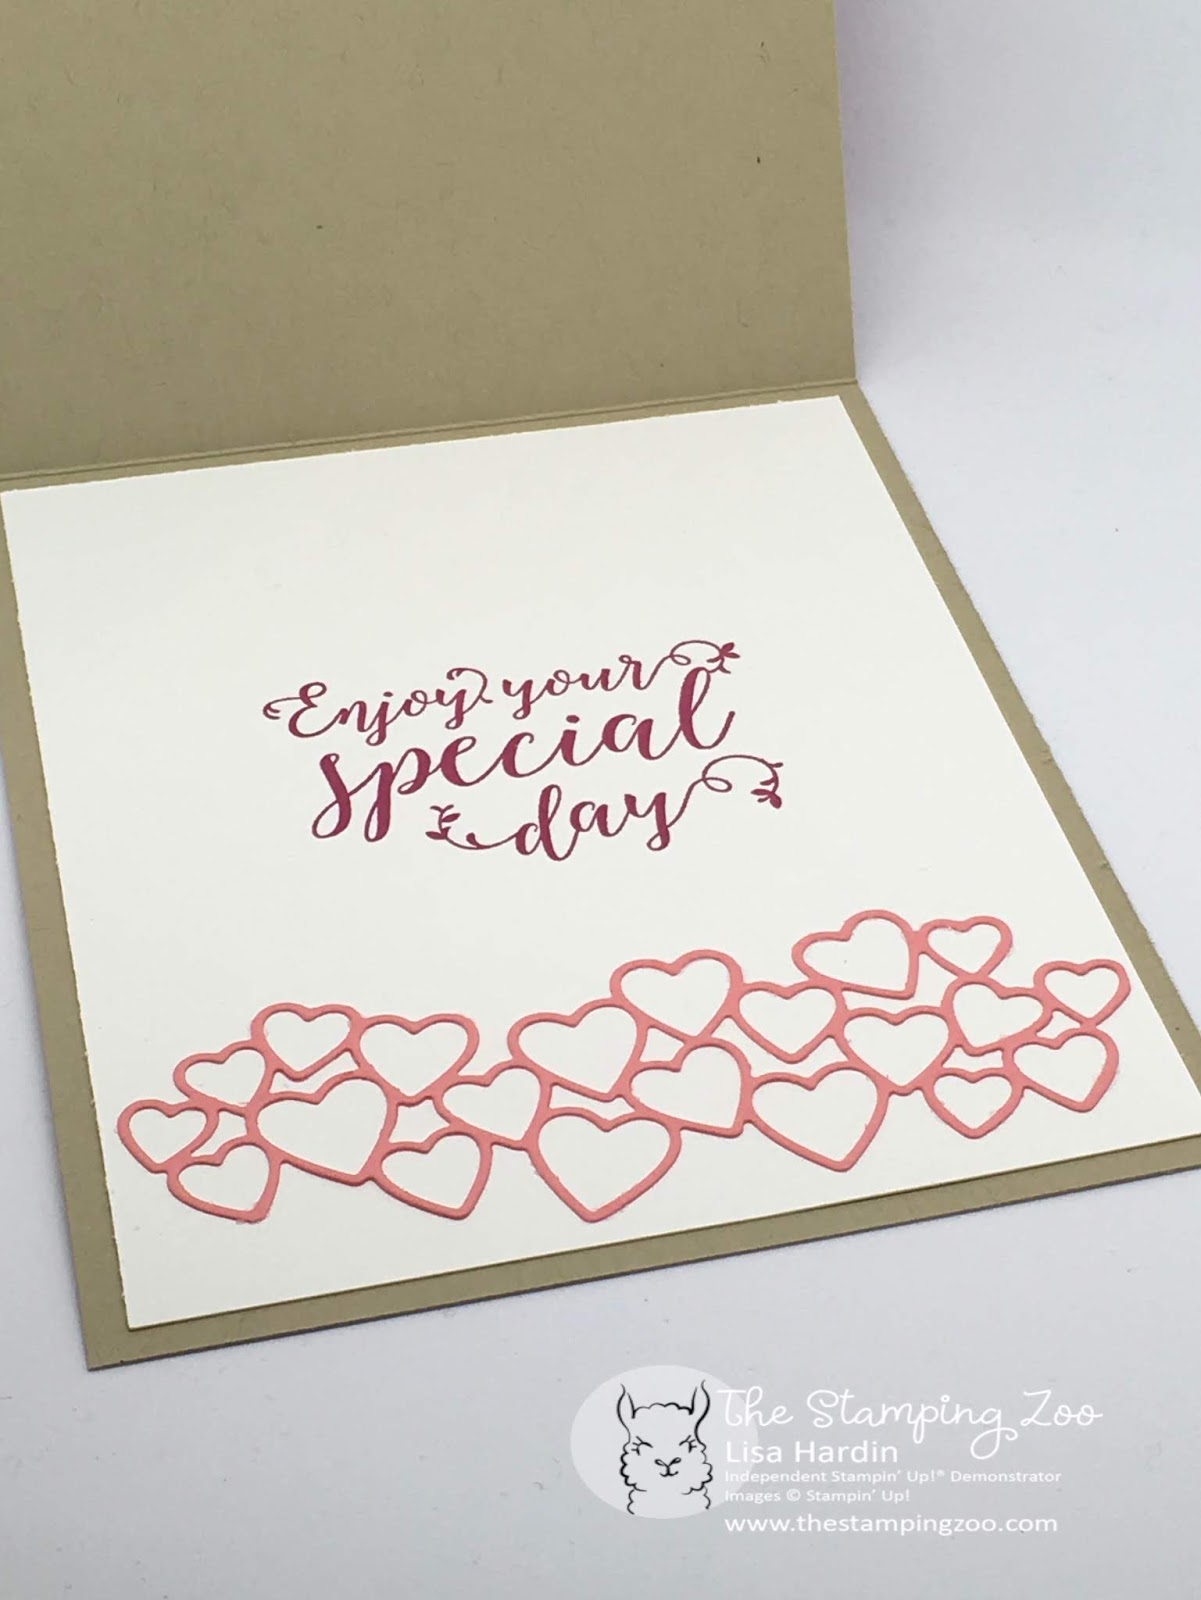
Couldn't leave the inside blank!

Let's get started. You will need
- Crumb Cake Card base, measuring 4 1/4" x 11", scored at 5 1/2";
- 2 pieces of Flirty Flamingo, each measuring 4" x 5 1/4";
- 1 piece of Whisper White, measuring 4" x 5 1/4";
- 1 piece of All My Love DSP of your choice, measuring 2 3/4" x 4"
- Small piece of Lovely Lipstick Foil paper from SAB brochure (LOVE!)
To complete the card front, run scalloped heart shape with Be Mine Stitched Framelet Dies through the Big Shot. In order to make a floating heart, run your heart using the two largest stitched heart dies through at the same time.

Next, run the hearts and flourish die through the Big Shot on one sheet of the Flirty Flamingo cardstock. You will need to cut three of the flourish shapes.

Now layout your card front, but don't adhere anything together yet. At this point you are just composing the layout. Note: I started this card with a white flourish but I changed it to Flirty Flamingo. Don't let that confuse you!

Once you have the layout figured out, here's a little trick to keep that flourish exactly where you want it . Once you have it where you want it, take a strip of fully sticky Post it and adhere that to your grid paper and the flourish.

Then you can use that Post It like a "hinge" so you can lift up the flourish, add glue, and then lay it back down exactly where it was. Then remove the Post It, and glue the two remaining flourished directly onto one another. This is an easy way to make a die cut stand out from the background.

Finish assembling the card front with adhesive of your choice. You already have the flourish glued down so adhere the DSP to the bottom half of the Flirty Flamingo. Then stamp your sentiment in Lovely Lipstick in the heart shape on the Flirty Flamingo. Do not glue down the heart at this point - we have one more thing to do beforehand!

Cut two 14" strips of the Flirty Flamingo ribbon included in the All My Love Ribbon Combo pack. Lay the ribbon behind the Flirty Flamingo and bring around to the front. Then thread the ribbon through only one side of the heart. If you look at my completed picture, on the left side of the heart the ribbon is laying under the heart shape, but on the right side it is over the heart shape.

After you have the heart threaded onto the ribbon, then tie the ribbon into a simple square knot on the right-hand side of the card. Position the ends as you like them and trim. I added some extra glue to the ribbon by tucking a few mini glue dots underneath that square knot.

Color three Clear Faceted Gems with a Dark Flirty Flamingo Stampin' Blends and adhere them to the front of the card. I attached one on top of the square knot.

To finish off the inside, stamp the sentiment in Lovely Lipstick and use the Fine Tip Glue Pen to adhere the heart die shapes. Now you have a card perfect for your Favorite Valentine...or your Favorite Mom!
Thank you for reading my Hop post. I hope you make this card! Please be sure to come back to The Stamping Zoo for more inspiration using fabulous Stampin' Up! products.
Product List


 Designer Series Paper")


